Enhance your outdoor space with expert landscape lighting installers in Madison, WI. Lang Lighting and Decor LLC provides custom lighting solutions.
Patio & landscape lighting installation + outdoor audio will transform and provide security for your South Central Wisconsin property.
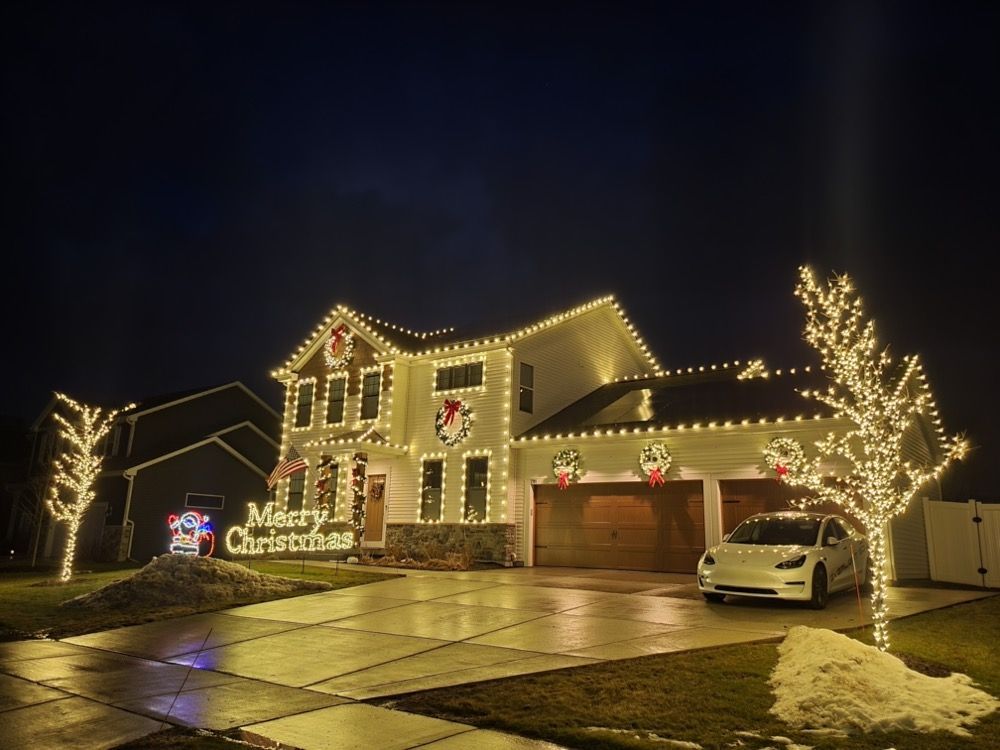
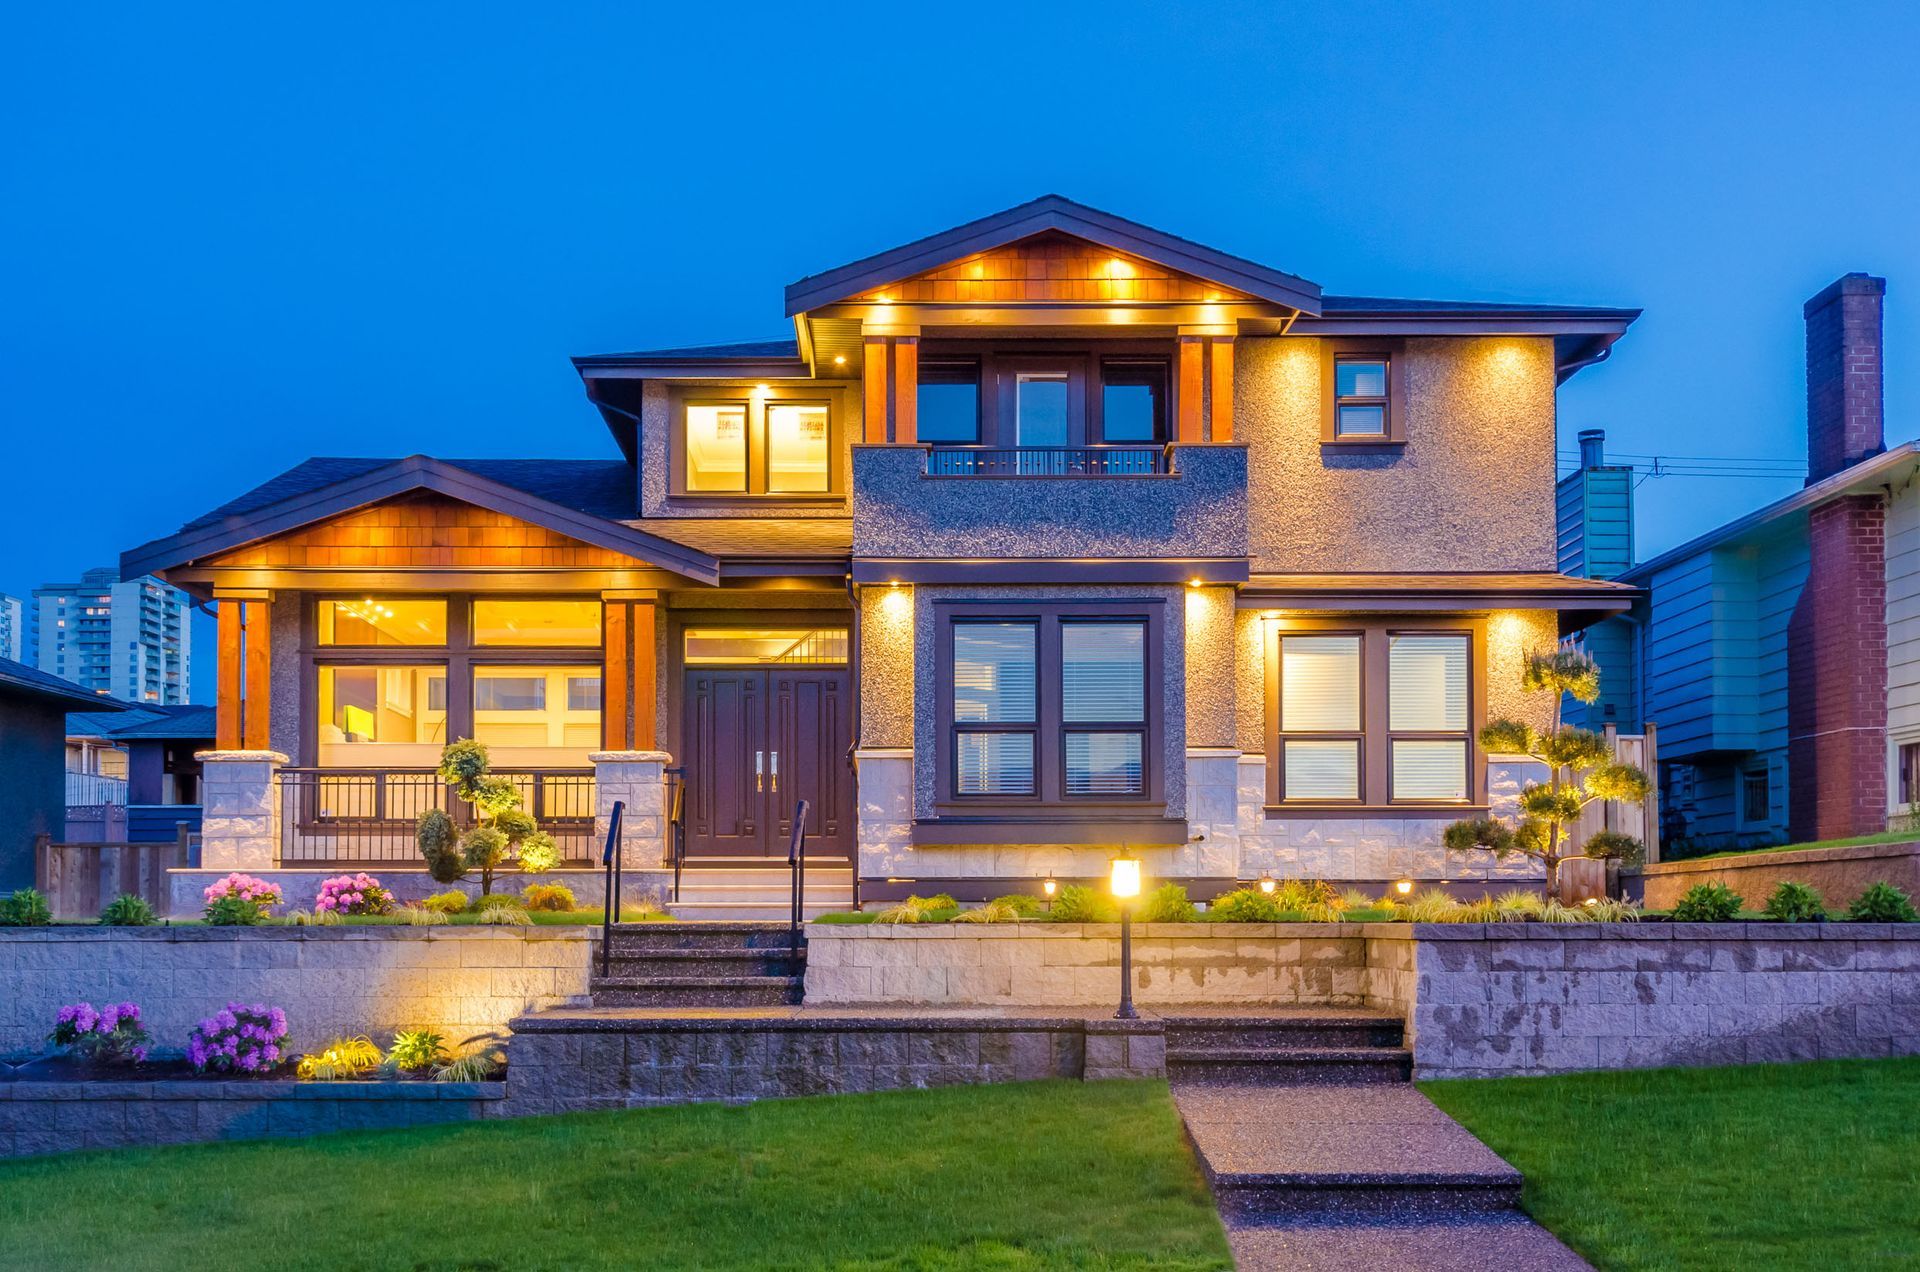
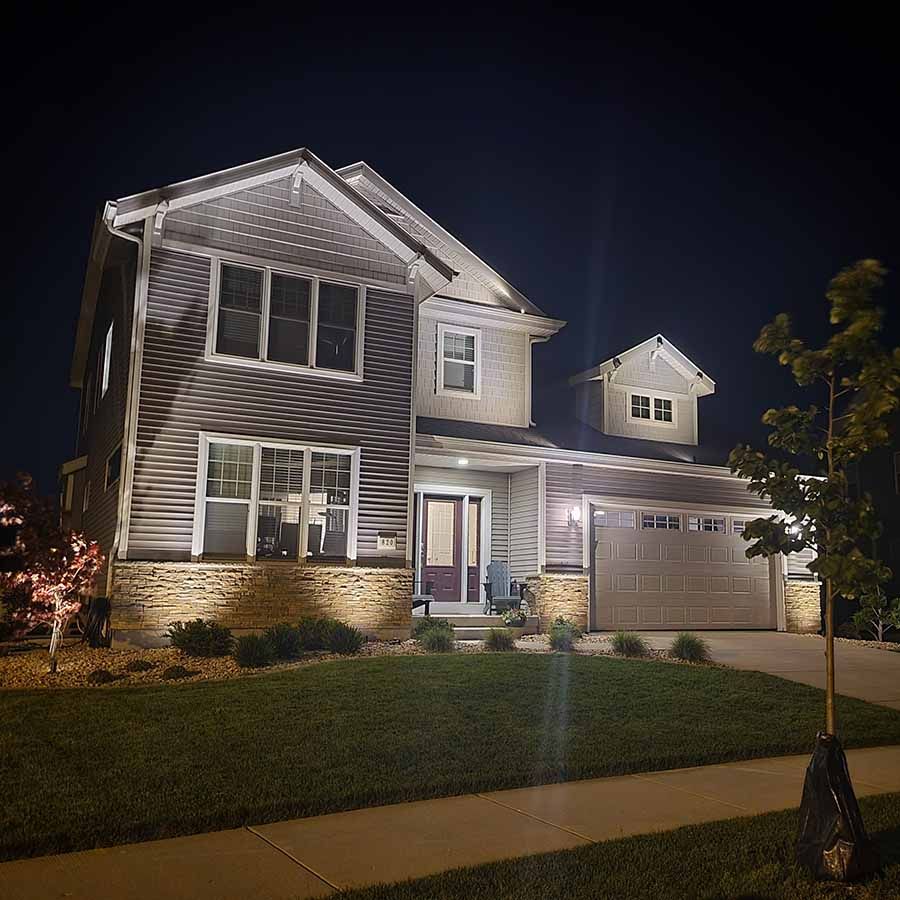
Get outdoor light ideas, including landscape, patio, and holiday lighting, from our inspiration gallery showing some of our past work.
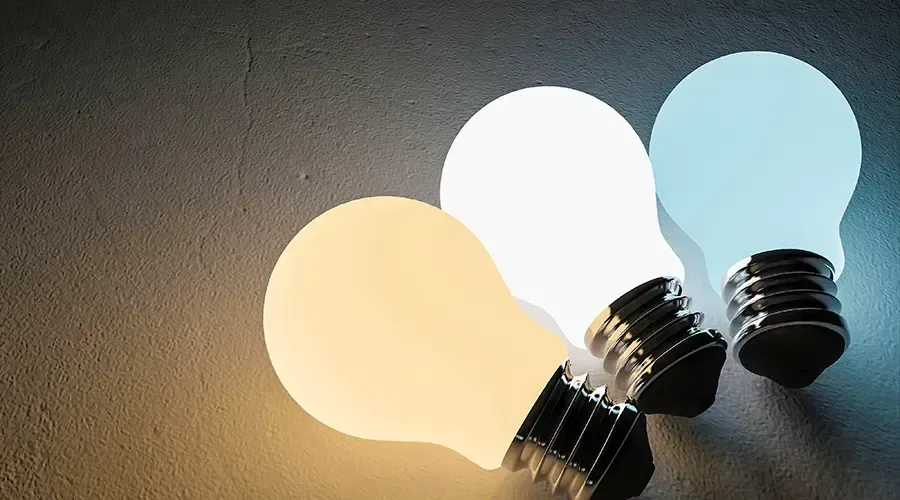
When lighting your home, the choice between warm white and cool white light can impact the ambiance and functionality of your space.
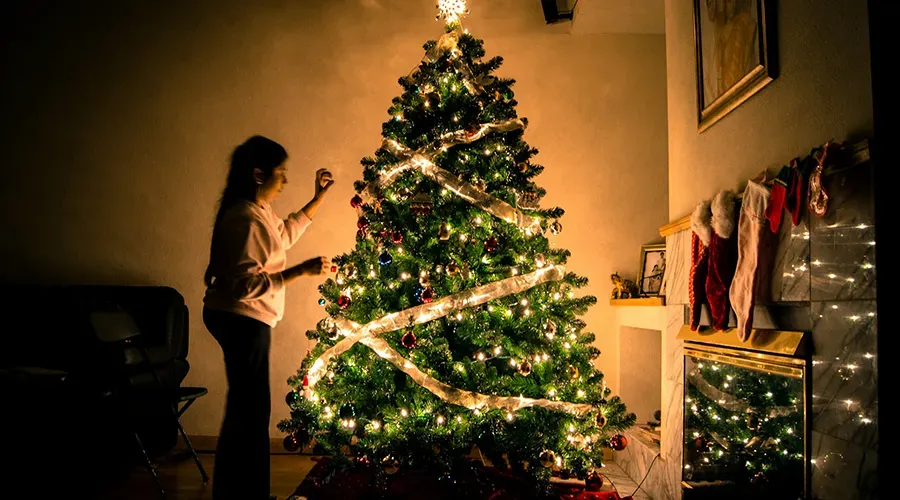
Do you know how to wrap a tree with lights to ensure your Christmas tree is both beautiful and professionally done? We can help you!
Transforming your outdoor space into a year-round oasis is a dream for many. BlueHopper Inception Lights offers lights for all seasons.
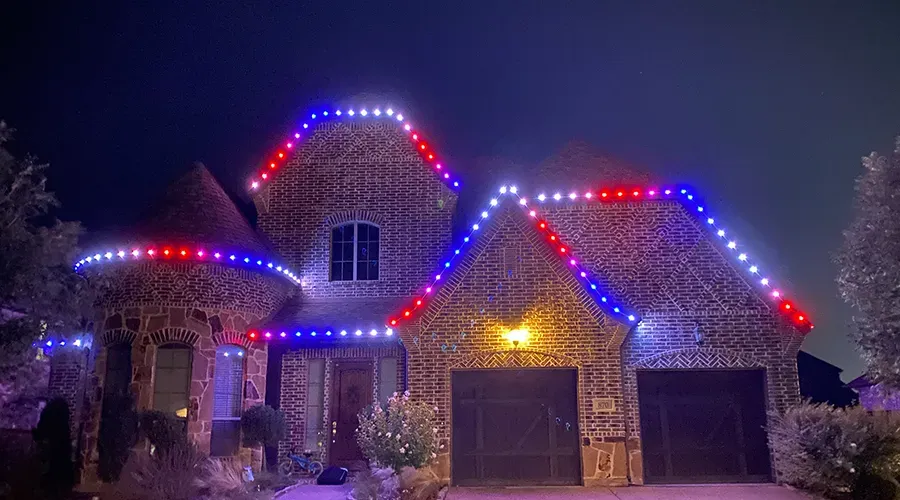
Time to load the family up in the 4WD sleigh for the fun old-fashioned tradition of touring Christmas light displays in Madison Wisconsin!

Every October, families prepare for the tradition of trick-or-treating. Here are 15 Halloween safety tips to ensure a fun experience.
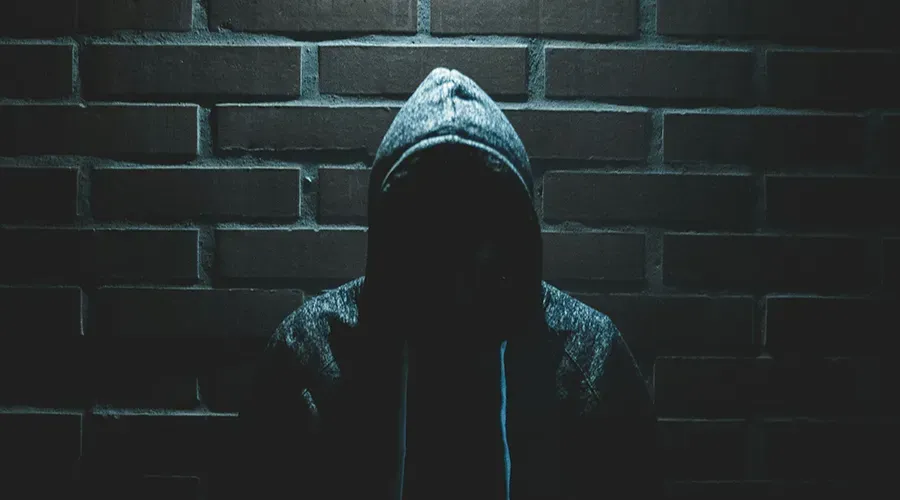
In an age where home security is a top priority for many, one of the most overlooked burglary safety deterrents is outdoor lighting.
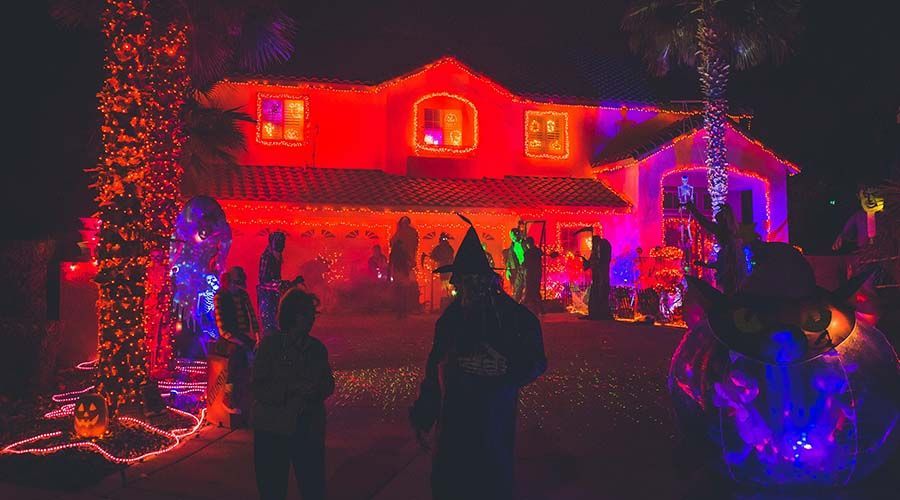
It's time to get the spooky Halloween display ideas flowing and the existing decorations out of the basement!