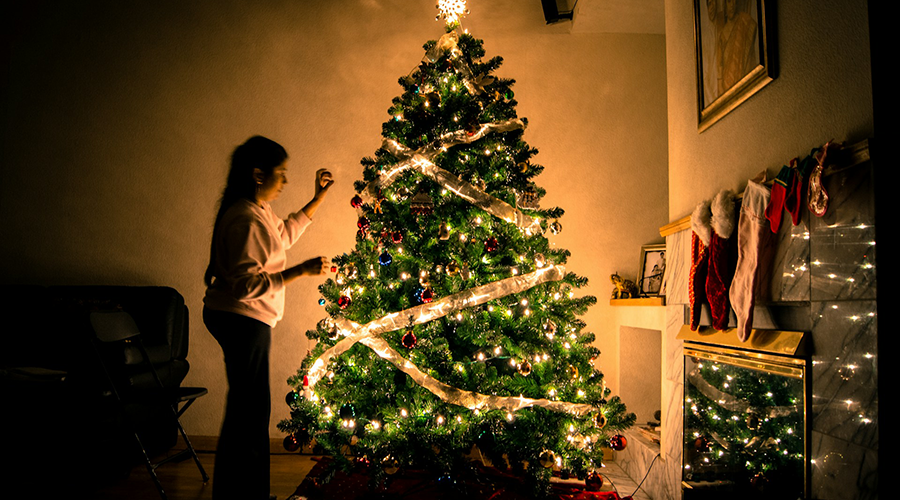
As the holiday season approaches, one of the most enchanting ways to celebrate is by decorating your outdoor trees with festive lights.
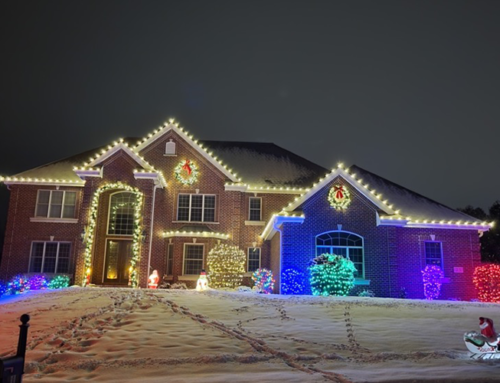
Wrapping a tree with lights can transform your yard into a winter wonderland and create a magical atmosphere for all to enjoy.
Brandon and I are here to guide you through the process of wrapping a tree with lights to ensure your display is both beautiful and professionally done. Here’s a comprehensive guide to help you achieve that stunning look effortlessly.
1. Gather What You Need to Wrap The Tree
What Lights Do You Want?
When selecting your Christmas lights, you’ll need to make two key decisions. First, consider your lighting type: LED lights provide superior energy efficiency and longevity, while traditional incandescent bulbs create that classic, warm holiday glow.
Next, calculate your lighting needs based on your tree’s dimensions. To achieve the perfect balance of illumination, plan for approximately 100 lights per foot of tree height, taking both height and width measurements into account for complete coverage.
What Tools Will You Need?
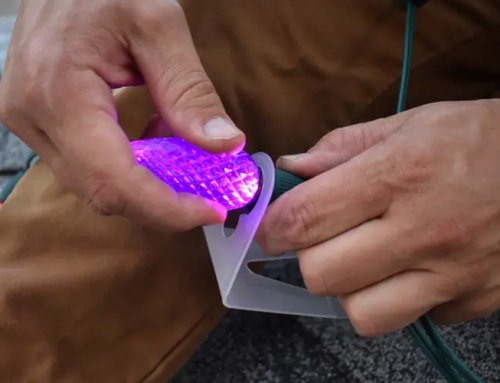
Before starting your holiday light installation, gather your essential safety equipment and tools. Begin with an outdoor-rated extension cord to safely power your display, and stock up on proper light clips or hooks to securely fasten the strands to branches.
Safety should be your priority, so invest in a sturdy ladder for reaching those higher branches without risk. Don’t forget to protect your hands with a reliable pair of gloves, which will shield you from both sharp branches and wire while you work.
Checklist
- Extension Cord: Make sure you have an outdoor-rated extension cord to power your lights
- Light Clips: Use light clips or hooks to secure the lights to the branches
- Ladder: A sturdy ladder is essential for reaching higher branches safely
- Gloves: Wear gloves to protect your hands from sharp branches and wire
Optional Items to Consider
Enhance your holiday display with smart additions that add both convenience and style.
Install a timer to automatically manage your lighting schedule, ensuring your display illuminates and dims at perfect moments without daily attention.
Complete your festive vision by incorporating decorative elements such as elegant bows and lush garlands, which work in harmony with your lights to create a truly magical holiday atmosphere.
2. Prepare the Tree Before You Light It
Inspect the Tree
Before installing your holiday lights, conduct a thorough inspection of your tree’s condition. Examine it carefully for any dead branches, abandoned nests, or signs of poor health, and perform necessary pruning to remove excess foliage that could interfere with your lighting design.
For smaller, potted trees, take extra precautions to ensure they’re properly anchored or weighted, preventing any risk of tipping once decorations are added.
Clean the Area
Before beginning your holiday light installation, take time to properly prepare your workspace by thoroughly clearing the area around your tree.
Remove fallen leaves, twigs, and any accumulated debris that could create tripping hazards or interfere with ladder placement. This essential preparation not only creates a safer working environment but also ensures stable footing as you move around the tree during installation.
Pay special attention to clearing a radius that extends several feet beyond the tree’s drip line, giving yourself ample room to maneuver equipment and maintain steady balance while working. A clean workspace is the foundation of a safe and successful lighting project.
3. Plan Your Light Design
Design Layout
Your wrapping strategy plays a crucial role in creating the perfect holiday display. Consider starting with a classic spiral pattern, which offers the most traditional and uniform appearance as it gracefully winds around the tree. Alternatively, you might opt for vertical rows or even combine both techniques for a unique look.
As you plan your design, carefully consider the spacing between light strands—tighter spacing creates a rich, brilliant display that sparkles with intensity, while more generous gaps between strands produce an elegant, subtle glow that highlights the tree’s natural form. Your choice of spacing will dramatically influence the aesthetic of your final product.
Test the Lights
Before you invest time and effort into installation, perform a crucial pre-installation test of your light strands. Lay out each string and plug them in to verify that every bulb illuminates properly, checking for any flickering, dark sections, or damaged wires.
If you’re working with multiple strands, connect them together during testing to ensure all connections are secure and compatible—it’s much easier to replace or repair defective strings while they’re still on the ground.
4. Wrap the Tree with Lights
Start at the Base of the Tree
Start your light installation by establishing a strong foundation at the tree’s base, where proper anchoring is crucial for the entire display. Secure your initial connection by either fastening the light strand to the trunk with professional-grade clips or carefully wrapping it around a robust lower branch. From this anchor point, begin your upward journey, methodically wrapping the lights in a graceful spiral pattern.
Maintain consistent spacing between each wrap to create a professionally balanced appearance—this attention to detail in your spiral progression ensures a uniform, enchanting glow that enhances your tree’s natural shape.
Continue Wrapping
Create a flawless holiday display by paying careful attention to light coverage and distribution as you work. Keep a watchful eye for any gaps in your design, adjusting your spacing on the fly to maintain consistent illumination throughout the tree.
Let the tree’s natural architecture guide your installation—work around fuller sections, thicker branches, and unique growth patterns to achieve an organic, harmonious appearance. This adaptive approach ensures your lighting complements the tree’s natural silhouette rather than fighting against it, resulting in a polished, professional display that appears effortlessly elegant.
Secure the Lights
Ensure your holiday display remains pristine throughout the season by properly securing your light strands with professional-grade clips or durable zip ties. Place these fasteners at consistent intervals along the branches, creating a stable foundation that prevents sagging or shifting—even during winter weather.
As you work, maintain a polished appearance by discreetly concealing any excess wiring, carefully tucking cables along branches or behind decorative elements. This attention to detail eliminates visual distractions and creates the illusion that your lights are floating magically among the branches.
5. Finish and Inspect Your Work
Test the Display
Once your initial installation is complete, conduct a thorough quality check of your holiday display. Power up your lights and step back to evaluate their spacing and alignment, looking carefully for any dark spots or inconsistencies that might need adjustment. Take time to view your work from multiple angles, slowly circling the tree to ensure uniform illumination from every perspective.
Add Final Touches
Complete your masterpiece by layering additional decorative elements into your lighting display. Enhance the tree’s festive appeal with carefully placed bows, shimmering ornaments, or winding garlands that complement your lighting design.
To ensure effortless operation throughout the season, install a programmable timer that will automatically illuminate your display at dusk and dim it at your preferred hour—creating reliable holiday magic without daily attention.
Safety Check
Prioritize safety with meticulous attention to your electrical connections, ensuring every component meets outdoor safety standards.
Thoroughly inspect all connections, wires, and extension cords for signs of wear, fraying, or damage before powering up your display. Use only weather-resistant, outdoor-rated extension cords and connection points, protecting them from moisture with weatherproof covers or electrical boxes where necessary.
6. Enjoy Your Festive Tree!
Admire the Results
As dusk settles and your illuminated creation springs to life, stand back and take a moment to appreciate the magical transformation you’ve crafted. The soft glow of your carefully installed lights creates an enchanting atmosphere that captures the true essence of the holiday season.
This moment of quiet appreciation reminds us why holiday lighting continues to be such a cherished tradition.
Maintenance
Maintain the pristine beauty of your holiday display by conducting regular inspections throughout the season. Take a few moments periodically to examine your lighting installation, checking for any signs of loosening clips, shifting strands, or bulbs that may have dimmed.
These routine maintenance checks, particularly after strong winds or storms, help ensure your display remains secure and continues to shine brilliantly throughout the entire holiday season.
Wrapping a tree with lights is a delightful way to enhance your holiday decorations and create a warm, festive atmosphere. By following these steps, you now know how to wrap a tree with lights and can achieve a professional-looking display that will be the envy of your neighborhood.
At Lang Lighting and Decor LLC, we’re dedicated to helping you with all your holiday lighting needs. Whether you need assistance with wrapping your tree or designing a complete holiday lighting scheme, our team is here to help.
If you have any questions or need support with your holiday lighting project, don’t hesitate to reach out. Let us help you make this holiday season shine!
Happy decorating from all of us at Lang Lighting and Decor LLC!

